Skip to content
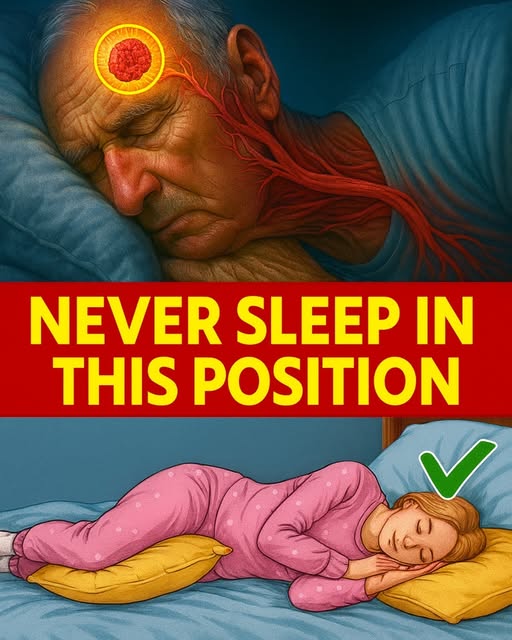
This Sleeping Position Raises Your Stroke Risk
Sleep is often called the pillar of good health, yet many of us overlook the impact that how we sleep can have on our bodies. While factors like duration and quality of sleep are widely discussed, recent research has started to shed light on how certain sleeping positions may influence serious health risks—including stroke. Understanding the connection between sleep posture and stroke risk can help you make subtle but important changes to protect your health.
The Importance of Sleep and Stroke Risk
Stroke is a leading cause of disability and death worldwide, occurring when the blood supply to the brain is interrupted. It can be caused by a blocked artery (ischemic stroke) or bleeding in the brain (hemorrhagic stroke). Common risk factors include high blood pressure, obesity, diabetes, smoking, and sedentary lifestyles. However, emerging evidence suggests that even something as simple as the position in which you sleep can influence your risk.
Sleep affects cardiovascular health in multiple ways. During sleep, your body regulates blood pressure, heart rate, and blood vessel function. Poor sleep or positions that negatively impact circulation and respiratory function can increase stress on the cardiovascular system, creating conditions conducive to stroke.
The Sleep Position Under Scrutiny
Several studies have evaluated the most common sleep positions—back, stomach, and side. While each has its pros and cons, one position is increasingly linked to higher stroke risk: sleeping on your stomach, also called the prone position.
Sleeping on your stomach may feel comfortable for some, but it forces your neck and spine into unnatural positions. The head is often turned to one side for prolonged periods, which can compress blood vessels, restrict blood flow, and put pressure on the brain’s delicate structures. Over time, this can increase the likelihood of vascular complications, including ischemic events that may lead to stroke.
A study published in the Journal of Clinical Sleep Medicine found that prone sleeping can contribute to irregularities in blood pressure during the night. Fluctuating or elevated blood pressure is a major risk factor for both ischemic and hemorrhagic strokes. Additionally, stomach sleeping can interfere with optimal breathing patterns, sometimes leading to oxygen desaturation, which strains the cardiovascular system.
Side Sleeping: The Healthier Alternative
On the other hand, sleeping on your side—particularly the left side—may be more beneficial for vascular health. Side sleeping promotes better circulation, reduces strain on the heart, and can even improve lymphatic drainage. The left-side position is especially favored in patients with heart disease and high blood pressure because it minimizes pressure on major blood vessels and supports optimal blood flow to the brain and vital organs.
Side sleeping is also associated with reduced risk of sleep apnea, a condition that sharply increases stroke risk. People who sleep on their stomach are more prone to airway obstruction, whereas side sleepers tend to maintain a clearer airway, reducing nighttime hypoxia (low oxygen levels). Over time, better oxygenation during sleep lowers stress on blood vessels and reduces the risk of clot formation, a leading cause of ischemic stroke.
Back Sleeping: Moderate Risk
Sleeping on your back is generally considered neutral for cardiovascular risk, but it does have its drawbacks. For people prone to sleep apnea or snoring, back sleeping can worsen airway obstruction, leading to intermittent drops in oxygen levels. Chronic nighttime hypoxia increases the likelihood of hypertension and vascular inflammation, which are key contributors to stroke. However, unlike stomach sleeping, back sleeping does not compress blood vessels in the neck, making it a safer option in terms of stroke risk.
Additional Factors to Consider
While sleep position is important, it is only one piece of the puzzle. Other sleep-related factors influence stroke risk, including:
-
Sleep duration: Adults should aim for 7–9 hours per night. Both short and long sleep durations are linked to increased stroke risk.
-
Sleep quality: Interrupted or fragmented sleep can lead to elevated blood pressure and impaired cardiovascular function.
-
Sleep apnea: Left untreated, this condition dramatically increases stroke risk. Managing it through lifestyle changes, devices, or medical intervention is crucial.
-
Pillows and mattress support: Poor support can exacerbate unnatural spinal positions, especially in prone sleepers.
Practical Tips for Healthier Sleep
If you’re concerned about stroke risk, consider making the following adjustments:
-
Shift to side sleeping: Gradually train yourself to sleep on your left side. Use pillows to support your back and between your knees to maintain spinal alignment.
-
Avoid stomach sleeping: If you naturally roll onto your stomach, place a pillow under your chest or hips to encourage a side position.
-
Choose supportive bedding: A medium-firm mattress and ergonomic pillows can prevent spinal and vascular compression.
-
Maintain a consistent sleep schedule: Go to bed and wake up at the same time every day to stabilize blood pressure and cardiovascular rhythms.
-
Monitor cardiovascular health: Regularly check blood pressure, cholesterol, and glucose levels, and consult your doctor if you notice changes.
Conclusion
Although we often underestimate the importance of sleep posture, evidence increasingly shows that stomach sleeping can raise the risk of stroke by affecting blood flow, oxygenation, and blood pressure. By adopting a side-sleeping position, especially on the left side, you can support optimal circulation, reduce strain on the cardiovascular system, and lower your risk of stroke. Small adjustments in how you sleep may seem minor, but over years, they can significantly impact your overall health and longevity.
Ultimately, stroke prevention is multifaceted, involving diet, exercise, and monitoring of underlying health conditions. However, something as simple as the way you position your body at night can serve as an additional, proactive step toward a healthier, longer life.